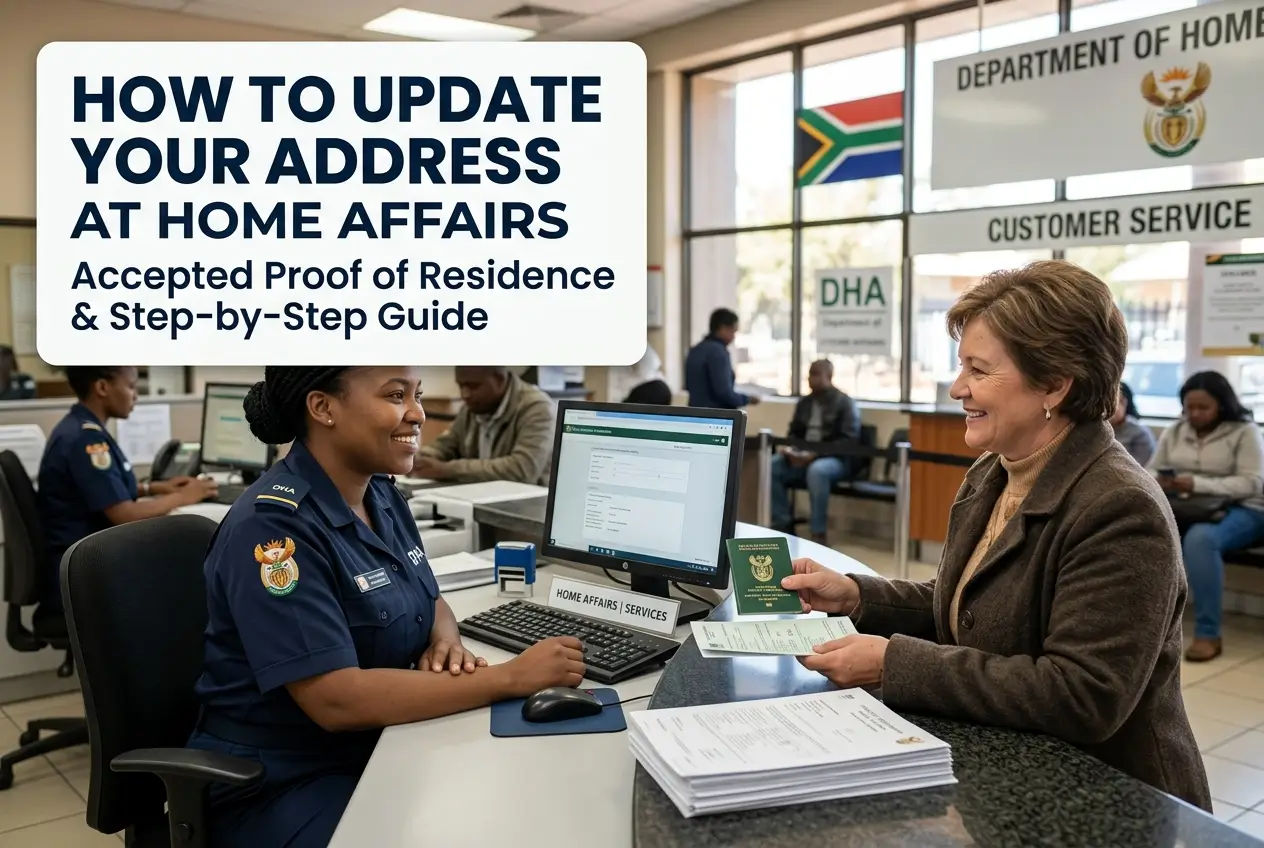
Need to update your address at Home Affairs? It’s a critical step that many people overlook. This guide shows you exactly how to do it.
We’ll cover which proof of residence documents are accepted. We will also explain the process step-by-step.
Keeping your address current is essential for voting, banking, and receiving official notices. Let’s get it sorted quickly.
Why Your Address at Home Affairs Matters So Much
Your registered address with the Department of Home Affairs (DHA) is more than just a location. It is your official point of contact with the state.
This information is used for the national population register. It directly impacts your ability to vote in the correct ward during elections.
Banks and other financial institutions also rely on this data to comply with FICA (Financial Intelligence Centre Act) requirements.
An outdated address can lead to missed communications, delays in services, and even legal complications. It’s a small detail with big consequences.
What Exactly is an Official Proof of Residence?
A proof of residence, or proof of address, is an official document that verifies where you live. It must link your name to a physical residential address.
This is not just a Home Affairs requirement. You need it for almost everything, from opening a bank account to getting a cell phone contract.
The key is that the document must be recent, typically not older than three months. It also needs to be from a credible source.
Important: A post box address is not acceptable as proof of residential address. It must be the physical address where you actually live.
Accepted Proof of Residence Documents at Home Affairs
Home Affairs is strict about the documents they accept. Make sure you have one of the following official papers ready before you go.
Each document must clearly show your full name and the physical address. The details must match your ID document.
- Utility Bill: A recent water and electricity bill or a municipal rates and taxes invoice. It must be in your name.
- Bank Statement: A statement from your bank, not older than three months. It must show your residential address.
- Lease Agreement: A current and valid rental agreement, signed by both you and the landlord.
- Retail Account Statement: A recent statement from a clothing or furniture store account (e.g., Edgars, Mr Price, Lewis).
- Official Tax Return: Your latest tax return or assessment from SARS, which shows your address.
- Sworn Affidavit: An affidavit from someone you live with who owns the property, along with their own proof of address.
Remember, photocopies should be certified by a Commissioner of Oaths, like at a police station or Post Office.
What if You Live with Family and Have No Bills in Your Name?
This is a very common situation in South Africa. Many people live with parents, relatives, or friends and don’t have utility bills in their own name.
Don’t worry, there is an official solution for this. You will need to use a sworn affidavit or a declaration form.
Here’s the process to follow if you don’t have proof of residence:
- Find the Property Owner: Ask the person you live with (e.g., your parent, spouse, or landlord) for help. They must have a valid proof of residence in their name.
- Get an Affidavit: You both need to go to a police station or a lawyer’s office to complete an affidavit. This is a sworn statement.
- What the Affidavit Must Say: The property owner must declare that you live at their address. They must attach a certified copy of their ID and their own proof of address to your affidavit.
- Your Details: The affidavit must state your full name and ID number, confirming your residence at that specific address.
This combined document (your affidavit plus the owner’s proof of address) is accepted by Home Affairs as your valid proof of residence.
Step-by-Step: How to Update Your Address at a DHA Branch
Updating your address must be done in person at a Department of Home Affairs office. Currently, there is no fully online system for this change.
Follow these steps for a smooth process:
- Gather Your Documents: You will need your green bar-coded ID book or Smart ID Card. Also, bring your original, valid proof of residence (or the affidavit pack).
- Visit Your Nearest DHA Office: It’s best to go early in the morning to avoid the longest queues. Check the operating hours before you leave.
- Request the Correct Form: At the office, ask for the form to notify them of a change of address. This is often part of a standard data amendment form.
- Complete the Form: Fill out the form clearly and accurately. Double-check that all details, especially your new address, are correct.
- Submit Everything: Hand over your ID, the completed form, and your proof of residence to the Home Affairs official at the counter.
- Confirmation: The official will capture your new address on the National Population Register. There is usually no fee for a simple address update.
The update on the system can take a few days to reflect. There’s no new document issued; the change is purely digital on their system.
Common Mistakes to Avoid During the Process
A small mistake can cause delays and force you to return to the DHA office. Be careful and avoid these common errors.
Preparation is key to getting it right on the first try.
- Using an Old Document: Make sure your proof of residence is less than three months old. They are very strict about this rule.
- Forgetting Certified Copies: If you are using copies of documents (like for an affidavit), ensure they are certified by a Commissioner of Oaths.
- Address Mismatch: The address on your proof of residence must exactly match the address you write on the application form.
- Incomplete Forms: Double-check you have filled in every required section of the form before you get to the counter.
- Not Bringing Your ID: You must present your original ID document (green book or Smart ID card). They will not accept copies.
Protecting Your Personal Information
Your proof of residence contains sensitive personal information. It’s important to handle these documents with care to prevent identity theft.
Never share pictures of your utility bills or bank statements on social media. Be wary of who you give this information to.
When providing a copy to a third party, it can be a good practice to write across the page what it is for. For example, “For Home Affairs address update only.”
Always deal directly with official Home Affairs channels. Do not use unofficial “agents” who promise to update your details for a fee, as these are often scams.
Final Checklist Before You Go
Ready to head to Home Affairs? Do a final check to make sure you have everything you need. This will save you time and frustration.
- Your ID: Green bar-coded ID book or Smart ID Card.
- Proof of Address: An original, recent document in your name.
- Or Affidavit Pack: If the proof is not in your name, bring the completed affidavit, the owner’s ID copy, and their proof of address.
- Black Pen: It’s always a good idea to bring your own pen to fill out forms.
- Patience: Home Affairs offices can be busy. Be prepared for a wait.
Keeping your address updated is your responsibility. It ensures you remain compliant and can access essential services without any hitches.
Take a few moments to check your documents today and plan your visit. A little effort now prevents bigger problems later.